


I think (and hope) that my good friends would tell you I’m a good mom. Not just the people who kind of know me, but the people who can say they’re coming over in 10 minutes and I know I don’t have to care about the piles of dog hair on the floor. They would tell you that I love my kids and that they love me. But they could also tell you that I am not a Newborn Mom. I know people who say that the newborn phase is their favorite, and I believe those people are certifiably insane. This is why I was so glad when my oldest could start enjoying the things I enjoy. As soon as she could reasonably stand atop a chair that was sidled up to the kitchen counter, up she went to watch mommy cook. Now that she’s 3, she can actually play a role in the whole process and even told her daddy the other day, “I really love cooking with mommy.”
In this house, we like pizza. Since it’s not classified as “health food,” I try to make it at home as much as possible because that seems more justifiable in my head. Recently, I let my girl help out with this tried and true ‘kid food.’
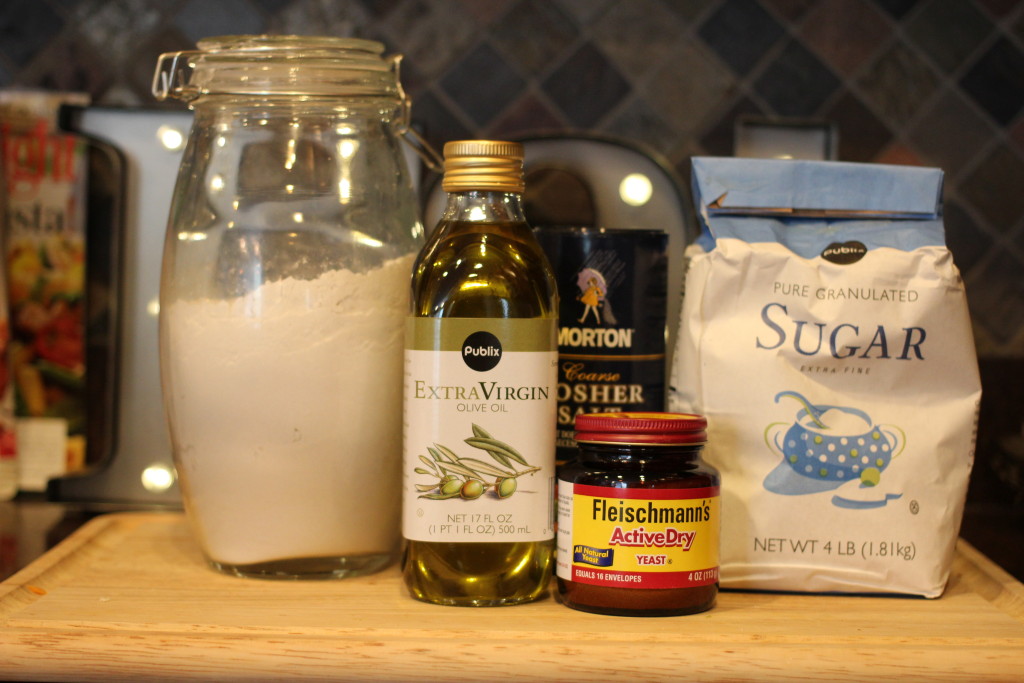
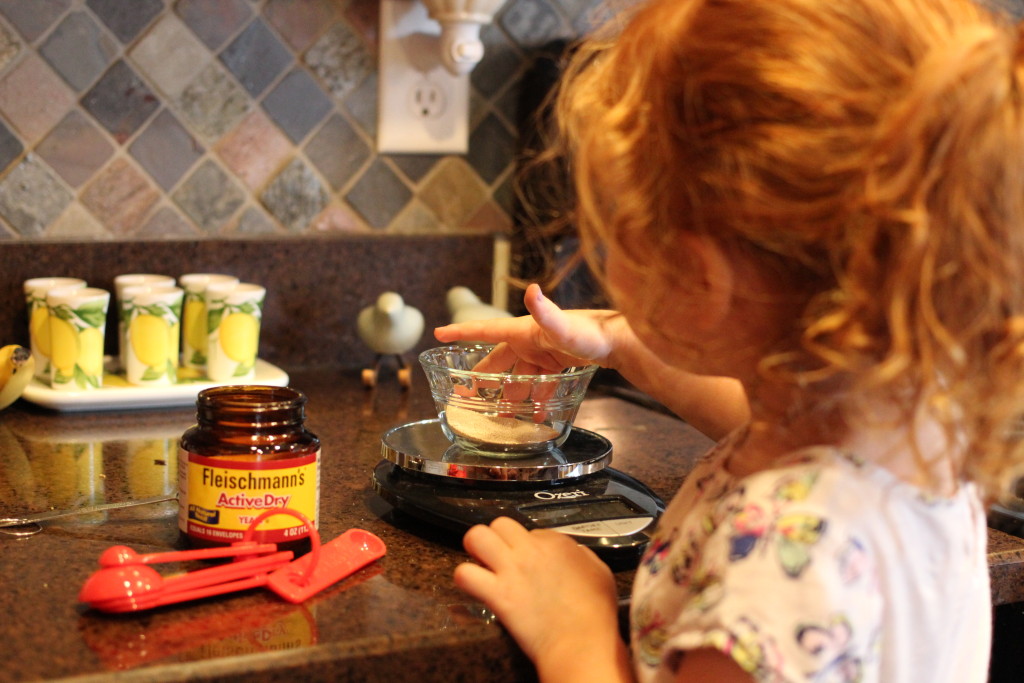
Step 1: I make my own pizza crust. I know, I know. If this is a bit too much to manage, Publix and Trader Joe’s both have pre-made pizza dough that’s very good. But if you’re up for it, this recipe is quite easy, and I was even able to teach my daughter about weight and using cooking scales in the process. (Cooking scale not needed if you buy the packets of yeast instead of the jar!) If you have older kids that are helping, this is also a good recipe to talk about reactions between yeast and water. Don’t forget the dough has to rise for a couple hours, so don’t start this 30 minutes before you want to eat.
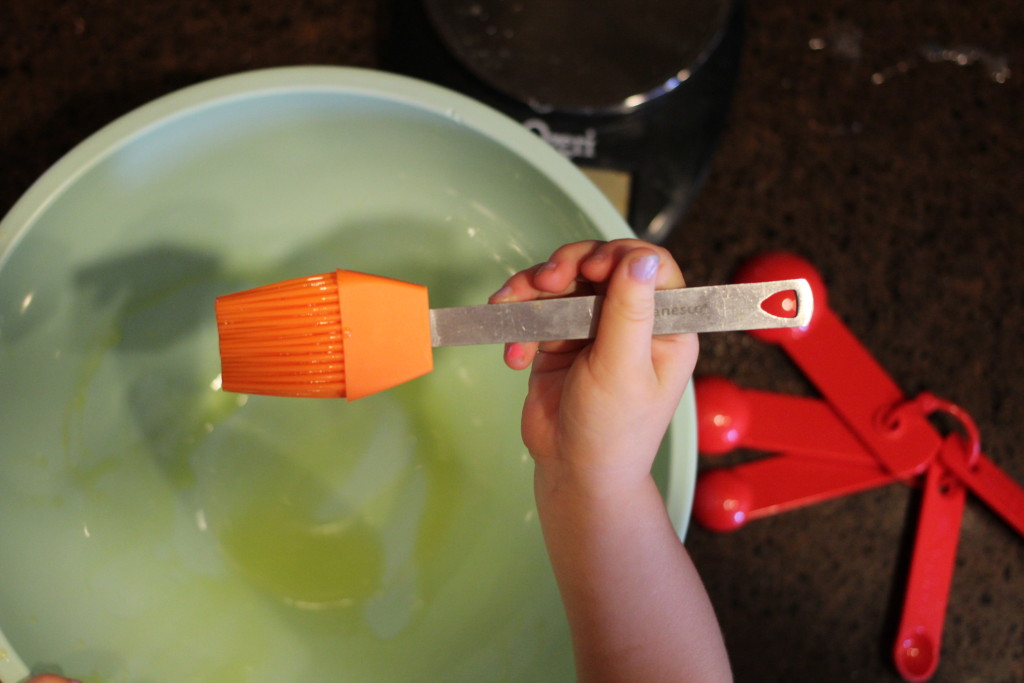
I think it’s wonderful and endearing and fulfilling that my three year old is interested in helping, but I don’t want this process to take 5 hours. I try to find things for her to do that are helpful but that she will also find entertaining. This recipe calls for oiling the bowl in which the dough rises. She was sold when I handed her something resembling a paintbrush.
Step 2: After your dough has risen, it’s times to press or roll out your crust. I’ll be honest. This was not the most successful part for us. She does not care for sticky things, so I did most of the pressing.
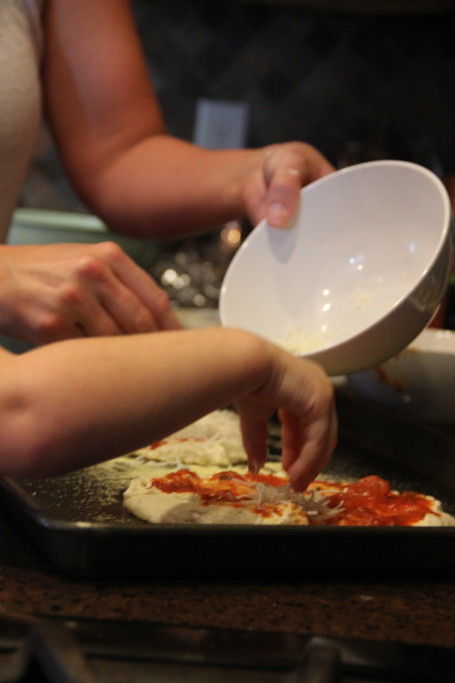
Step 3: Putting the sauce and toppings on the crust was far more enjoyable for her. If you were thinking about sneaking in vegetables to this dinner, this would be the time to do it. Cut them up and put them in the sauce, or add a layer between the sauce and the cheese. We’d had broccoli the night before, so I was feeling OK about our vegetable quota for the week and skipped this step.
Step 4: After the pizza goes in a hot oven, it’s fun to turn on the oven light so that we can see what’s happening inside while the pizza bakes. (Don’t forget to reinforce kitchen safety regarding hot stoves at this point!)
Step 5: Feed hungry children!
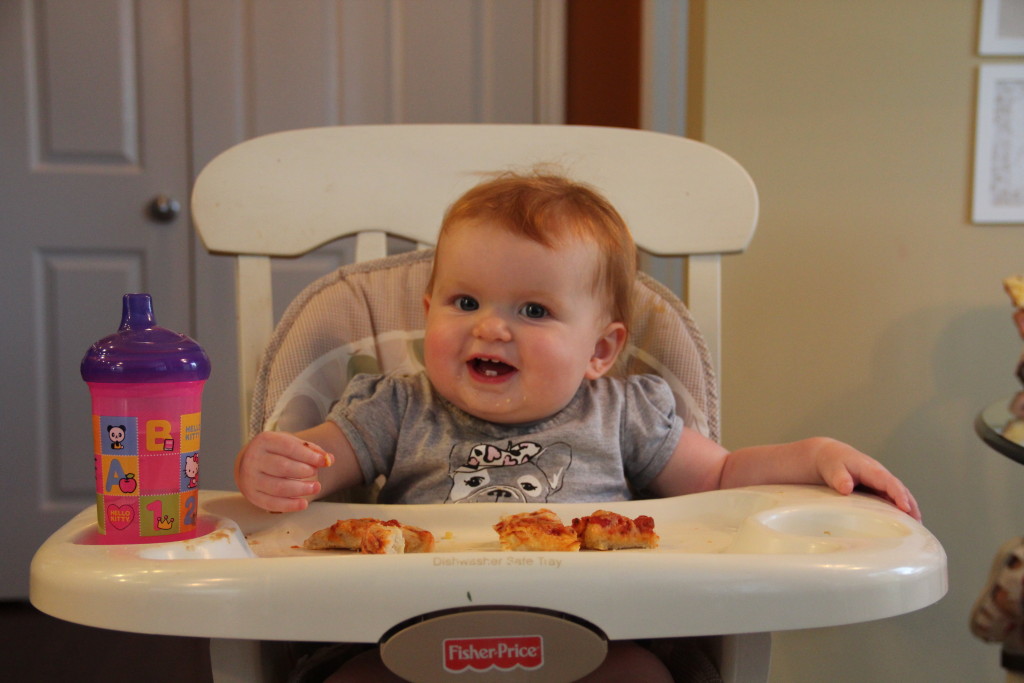
There have been so many great things said about your children helping in the kitchen. One of the biggest effects is that your children will make the association between what they made and what they’re eating and will happily eat the meal without complaint.
See?
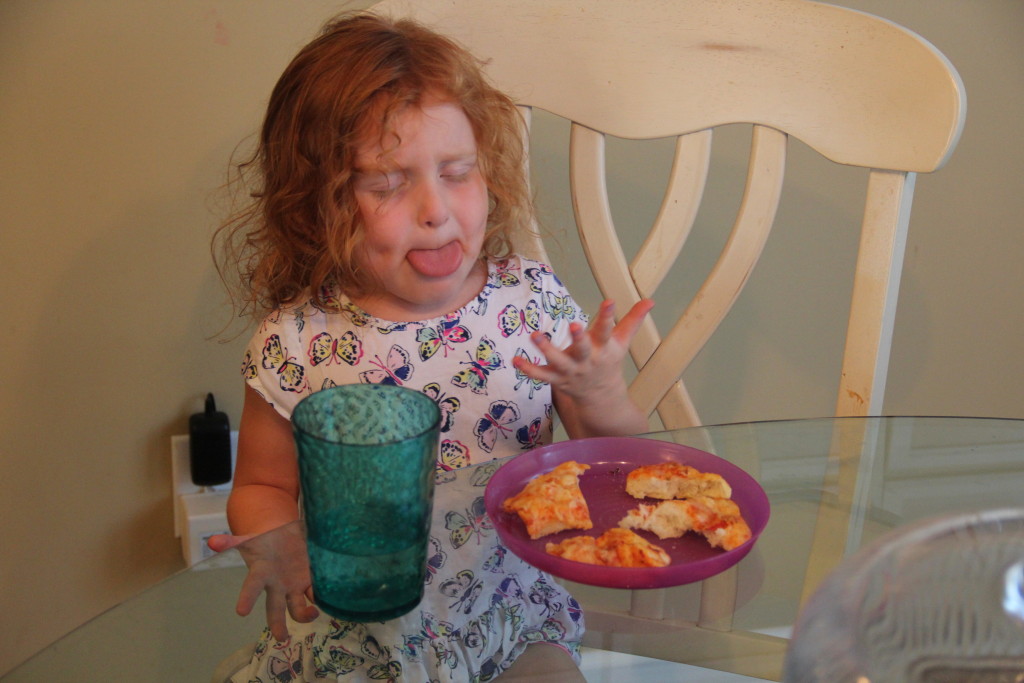
Despite the lack of endorsement on her part, this is a really great way to spend a couple of hours with your little one. I was able to teach her some cooking fundamentals as well as share my favorite hobby with one of my top three favorite people. In case you’re curious, mommy and daddy used the crust to make BLT Pizza—which we highly recommend!


