


I tend to bite off more than I should chew when it comes to birthdays. In my childhood years, my mother spent hours baking and then decorating elaborate cakes. Now that I am blessed with children of my own, I take joy in executing themed birthday parties. Okay, joy may be an overstatement. At times I question my sanity. But while laughing at my inability to simply order a cake from Kroger, I do enjoy baking (licking the bowl), decorating, and the look on my son’s face when he sees the finished product. This year’s theme? Ninjago. And since the Ninjago movie comes out today, I’m sure he’s not the only child asking for a green ninja cake and Ninjago cupcakes.


So if you want to spend all day making cupcakes that will be gone in ten minutes? Read on, my friends.
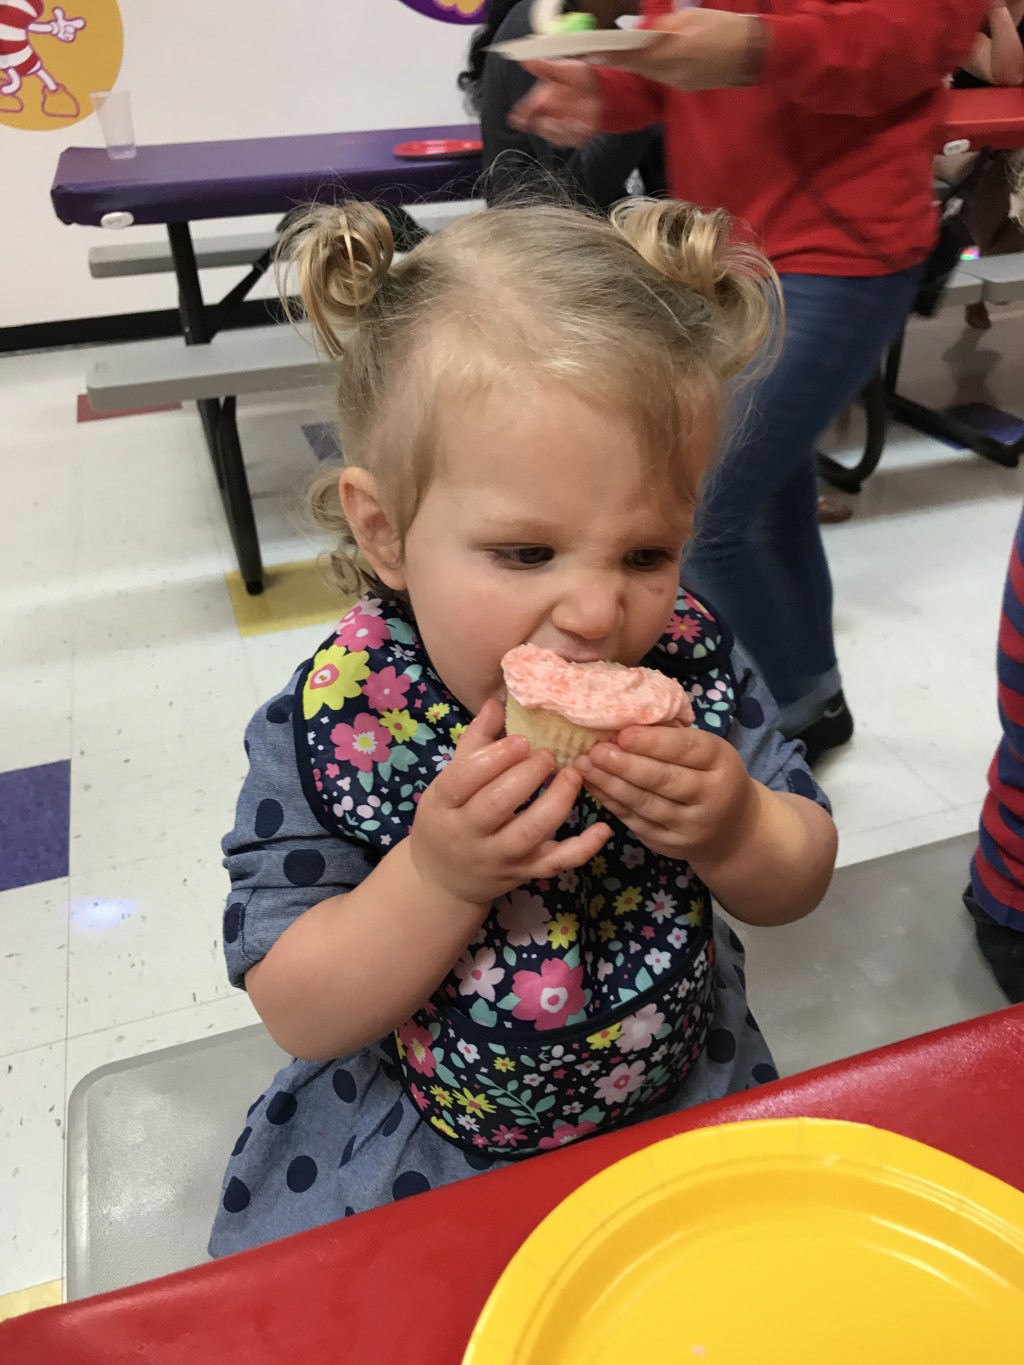
I’m a masochist, and a lover of cake, so I opted to make my cupcakes from scratch. And since I expected grown ups to attend the party, and my son requested “chocolate AND vanilla cupcakes”… I made both chocolate, and vanilla cupcakes. It should be mentioned, these vanilla cupcakes were exceptional, and the Hershey’s Chocolate cake recipe is my go to for chocolate cake in any form (although I add a tsp of almond extract). For the grown-ups, I topped the cupcakes with strawberry cream cheese frosting (because my son wanted a strawberry cake for his actual birthday cake. Did I mention I’m a masochist?) And for all the little ninjas…
I started with a box of yellow fondant (purchased from a craft store). Full disclosure, I had never used fondant. 15 minutes later, I was obsessed. It was SO easy- and the finished product is SO pretty. I found this tutorial very helpful.
After my cupcakes had cooled, I opened the box of fondant, twisted half of it off onto a floured silicon baking mat (yes, I know, its supposed to be powdered sugar but I was completely out by this point). Incidentally, the flour worked just fine. I was not willing to buy fancy fondant tools, so I just used a rolling pin to roll the fondant out to 1/8″ thickness.


I used a round cookie cutter to cut out the “ninja face”, then placed the circle onto the cupcake. (Important note, for the cupcakes I filled baking cups with 1/4 cup of batter, so I was dealing with a slightly elevated, flat surface).
Next, I mixed frosting colors. There are 5 ninjas (and yes, I know their names) but right now we care about the fact that they are blue, white, green, red and black. For this part I just bought 2 tubs of store brand white frosting, and divided it into 4 bowls. Using possibly unhealthy amounts of food coloring and an electric mixer, I colored the bowls of frosting bright blue, green, red and black. I made an additional mini-cake (see below), so I made twice as much green frosting as the other colors.
For twenty ninja cupcakes, I divided these into groups of four to frost with the various colors. I started with white and spooned about 1/2 cup into my decorating bag, fitted with a #2 writing tip. (Don’t have a decorating bag/tip? Put the frosting in a plastic bag and snip off a tiny portion of the corner. Pipe your frosting through this hole.)


- Pipe the outline of the ninja mask onto the fondant.
- Fill in the mask and hood with color – this does not need to be pretty.
- Using an angled butter knife, smooth down the frosting.
- Pipe a line of color over the nose mask.
I then cleaned the bag and tip, wiped it out, and repeated with the next color. This process would have been way faster if I had more than one decorating bag. Also, learn from my mistakes and SAVE THE BLACK FOR LAST!


For your black ninja (who’s name is Cole), repeat steps 1-4 with the black frosting, then add two dots for eyes and two lines for eyebrows.
Then revisit your other ninjas (Lloyd, Nya, Jay and Kai) and give them eyes and eyebrows.
Present them to your child and watch his face light up in amazement. Then tell him or her repeatedly not to touch them!
Ninja Mini-Cake
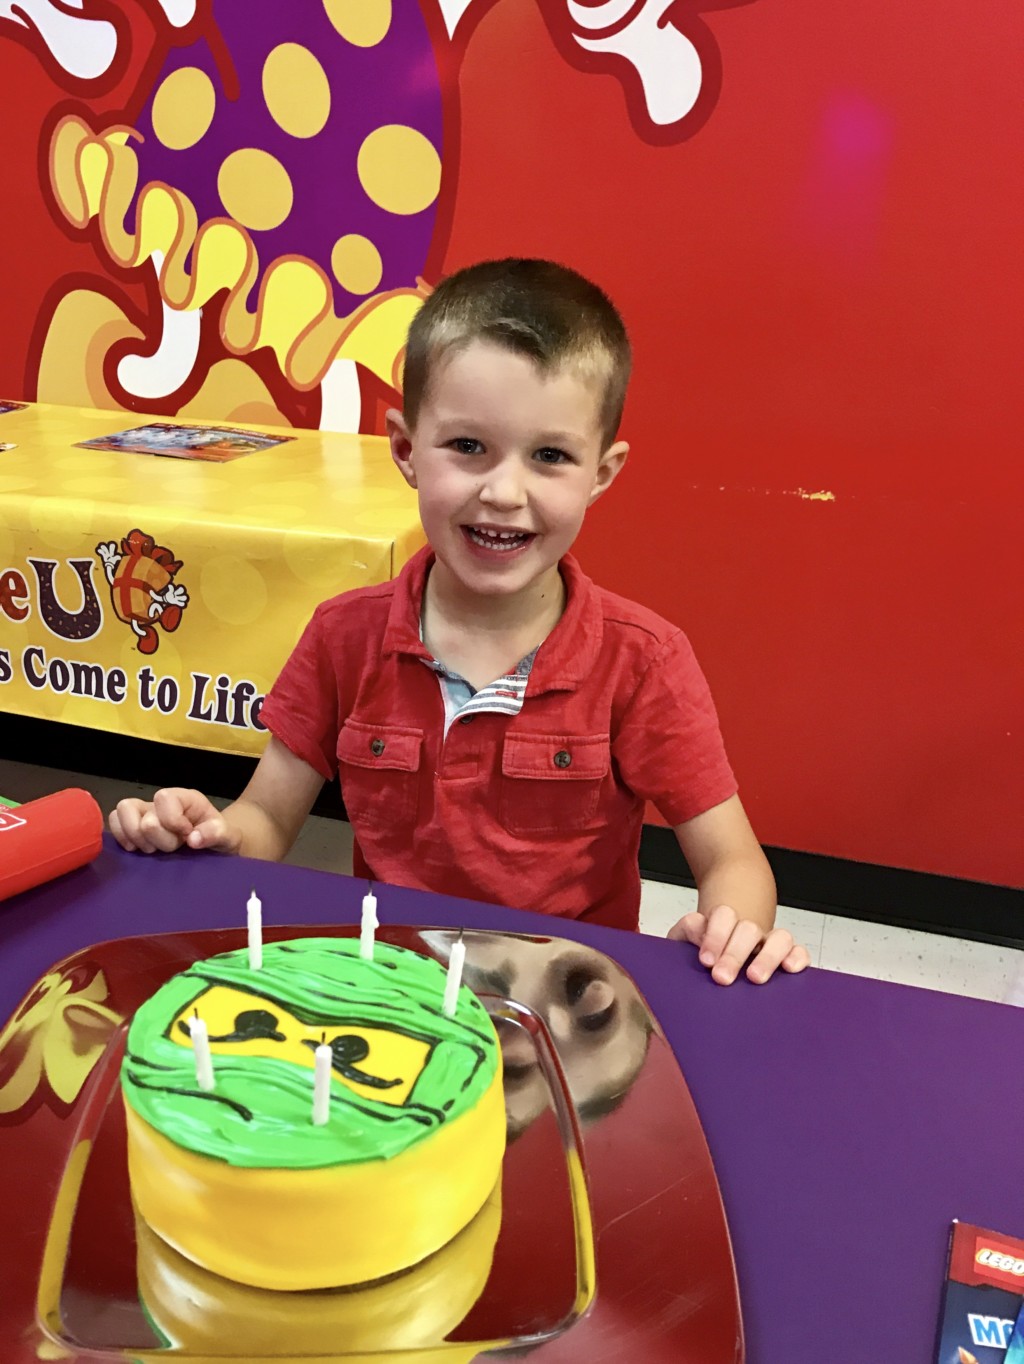
I wanted my son to have something a little more substantial for his “center of attention, blow out the candles” moment, so I thought I would try a mini-cake. I found two 6″ round cake pans at a craft store, then I filled them half-full with the vanilla cake batter. After they cooled, I used dental floss to trim the excess off the top (to create two flat layers), then used an offset spatula to spread strawberry frosting between the two layers. I had an excess of strawberry frosting — but any type of frosting will do.


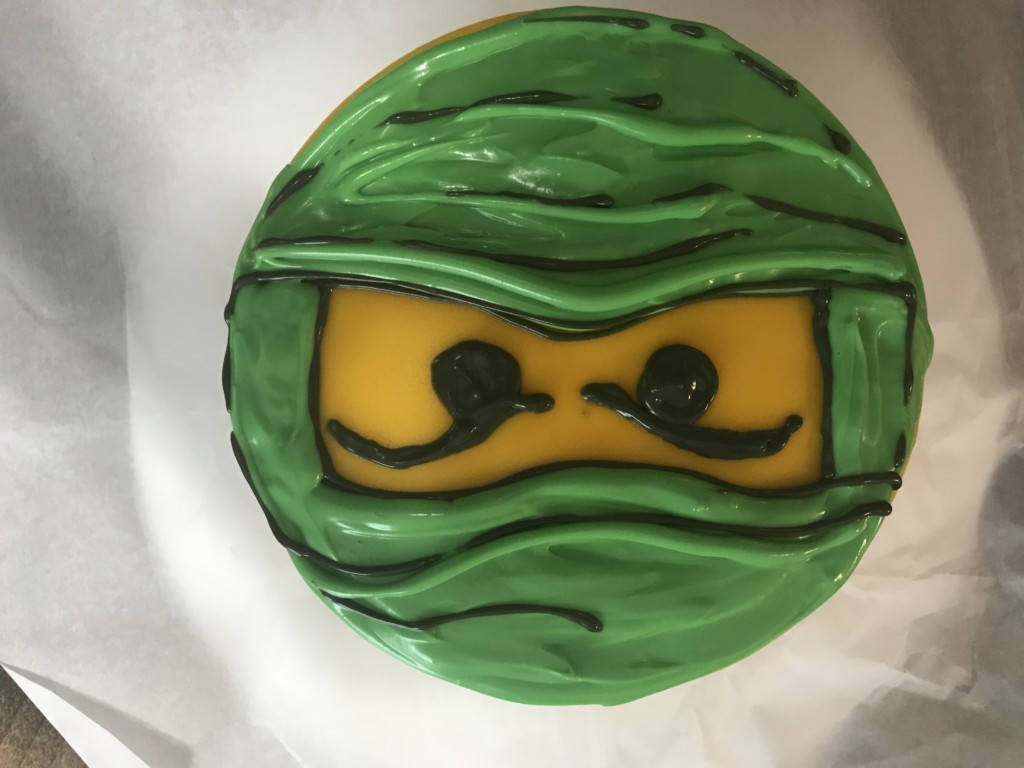
I then rolled out the remaining half of my yellow fondant (on my floured silicon baking mat) to somewhere between 1/8″ and 1/4″ thickness. Then I draped this over the cake. Again, I was unwilling to purchase fancy tools, so I used the rounded handle of a dinner knife and my hands to smooth down the top and edges of the cake, then I trimmed the edges with a pizza wheel.


So easy, and while I acknowledge it isn’t perfect, I think it looks SO sharp. I will definitely be trying more fondant cakes in the future.
From there, I essentially followed the same steps I used to make the cupcakes, but I used a larger piping tip for the green. I used the same #2 writing tip and black frosting to pipe the eyes, eyebrows and detail on the mask.
Now, back to those incredible vanilla cupcakes with the strawberry cream cheese frosting… while not as exciting to my 5-year old… they were outstanding. Fondant may look pretty, but it’s got nothing on this:


Very much appreciated this. I’m making a 3D head for the cake, so it looks like the real piece. I frosted it yellow and wrapped it in green for the hood. But I didn’t think that would be effective for the cupcakes. It never occurred to me to do it the other way.
Thanks for the comment Leanne! I hope your cake and cupcakes turned out great!